Showing posts with label fast. Show all posts

Monday, January 13, 2014

Easy Chocolate Banana Muffins

Easy food is good food.

That's why I try to make the bulk of the recipes of this site pretty simple.


But let me tell you, when you want some dessert, and you want it fast, sometimes even the easy recipes on this blog take too long to prepare.  But fear not, my fellow dessert lovers, for I have solved the problem.  This recipe for Chocolate Banana Muffins has six ingredients, comes together in less than 10 minutes, uses only one bowl, and tastes delicious to boot.

Total success!


Next time you're in need of a quick chocolate fix, look no further than these delicious muffins!


Easy Chocolate Banana Muffins

  • 2 banana
  • 2 cups flour
  • 1/4 cup special dark cocoa powder
  • 1 tsp baking powder
  • 1/3 cup honey
  • 1/2 cup milk
  • 1/2 cup chocolate chips
Preheat oven to 350F.  Grease 12 cups in a cupcake pan, or line a muffins pan with cupcake liners.  In a large bowl, mash bananas until smooth.  Add flour, cocoa powder, baking powder, honey, and milk and mix until a smooth batter forms.  If you have trouble mixing it together, add some more milk by the tbsp. Mix in chocolate chips.  Scoop batter into prepared pan or liners until about 3/4 full.  Bake in preheated oven for 20-25 minutes, until firm.  Recipe makes 12 cupcakes.


Enjoy y'all!
Pin It!

Wednesday, December 19, 2012

Chocolate Peppermint Milkshake

I have mixed feelings about artificial sweeteners.


I like them in that they aknowledge that people should be conscious about how much white sugar they consume, but I don't like that they're, well, artificial.

When it comes to foods, I like to eat natural foods as much as possible.  Sure, the occasional candy bar with tounge-twisting ingredients makes an appearance, but most of the time the foods that enter by body are nice and real.

Artificial sweeteners... they're not real.  In fact, they're the exact opposite.  Fake.  It's right there in the name.  I don't feel completely comfortable putting something fake into my body.  I've also found that fake things taste fake.  With some artificially sweetened things that I've tried, the ending result doesn't taste right.  There's just something a bit off.


But, all of that aside, I'm always up for a challenge, especially when it involves creating recipes or trying new things.  So, when I was sent a couple samples of Sweet'N Low as part of the Foodbuzz Tastemakers Program with Sweet'N Low, I didn't hesitate to get started creating a delicious drink creation.

I know that although I may not eat Sweet'N Low often, there are many others who do, so I was sure to create a wonderful recipe.  I definitely accomplished my goal.  The shake I created is creamy and chocolaty, with just a hint of peppermint for some holiday cheer.


It's also super healthy and packed with protein, even though there's no protein powder used.  Another great thing about this milkshake is that you can't tell it's not sweetened with sugar.  Like I mentioned earlier, sometimes atrificially sweetened food/drinks come with a funny taste.  Not this one!  You can't tell there's something different about it at all, which is perfect for all you with really sensitive tastebuds (like me).

Overall, though the milkshake I created is definitely yummy and I wouldn't hesitate to sip it up, it doesn't change my feelings about artificial sweeteners.  I still don't think I will be comsuming them often, simply because I don't like to think of something fake going into by body.  However, I do now know that adding Sweet'N Low to a recipe does not make it taste weird, so I can understand a bit more why some people prefer artificial sweeteners.

Thanks Foodbuzz and Sweet'N Low for the great experience!


Chocolate Peppermint Milkshake
(serves 1)

  • 1/2 cup cottage cheese (if you'd like it to be vegan, tofu will also work)
  • 2 tbsp cocoa powder
  • 1/4 tsp peppermint extract
  • 1/2 tsp vanilla extract
  • 1/2 banana, frozen and cut into chunks
  • 1-2 packets Sweet' N Low sweetener
Combine all ingredients in a blender and blend until smooth.  Pour into a glass and serve immediately.  That's all!  Enjoy :)


Revisited Recipe of the Day:

Protein Vanilla Milkshake


Pin It!

Thursday, October 25, 2012

Pumpkin Raisin Baked Oatmeal Bars

It really wouldn't be hard to have pumpkin in every meal of the day.


All you'd have to do is have pumpkin soup for lunch, a side of roasted pumpkin with dinner, a couple pumpkin raisin cookies as snacks, and a pumpkin square or two for dessert.  Oh right, and one of these bars for breakfast.


There are so many great things about these Pumpkin Raisin Baked Oatmeal Bars, I wouldn't be surprised if you find yourself grabbing two.

For one, they're completely delicious.  Pumpkin-y goodness with juicy raisins and just the right amount of chew from the rolled oats.  Yum.  Also, these bars are unbelievably filling.  If you pair one with some plain greek yogurt, it will keep you full for hours.  Seriously, there will be no grumbling bellies with these in your morning routine.

I also recommend these as a breakfast for anyone who finds themself rushing out of the door in the morning without breakfast.  Don't ever skip breakfast just because you're in a rush.  It results in a definite bad day.  Instead, grab one of these bars and eat it on your way to work.  See?  Problem solved.


I'm not usually one to eat the same breakfast multiple days in a row, but when I made these, on a Sunday, I had one every morning until they were all gone.

I remember that was a really busy week and I was often pressed for time in the morning.  These bars really came in handy then, because I froze them , and then just reheated one in the microwave each morning and gobbled it up with some yogurt.  It took like 2 minutes.  Please tell me you have 2 minutes in the morning to incorporate in some delicious-ness.


I'll go ahead and give you the recipe now before you get bored and stop reading.  This is not a breakfast to miss out on.

Pumpkin Raisin Baked Oatmeal Bars
(makes 9 large squares)
  • 2 cups rolled oats
  • 2 tsp cinnamon
  • 1/2 tsp ginger
  • 1/4 tsp allspice
  • pinch cloves
  • large pinch salt
  • 1 cup pumpkin puree
  • 1 2/3 cup milk of choice or water
  • 2 tsp maple syrup, or to taste
  • 1 tsp vanilla extract
  • 1/3 raisins
Preheat oven to 380F.  Combine all dry ingredients (not raisins) in a large bowl and mix well.  Add in pumpkin, milk/water,  maple syrup, and vanilla.  Stir to combine.  Mix in raisins.  Mixture with be wet and may not hold together.  Pour into greased 8x8 pan and bake for 20-25 minutes, or until oatmeal is firm.  Let cool before cutting.


So here's what all you busy, breakfast missing people should do:

Throw together these bars Sunday afternoon.  Cut them into squares.  Then, either freeze them if you like warm breakfasts, or just leave them in the fridge if you don't care.  Each morning, before sprinting out the door because you're late for this or that, reheat/grab a bar and you're good to go.  It's super easy and way healthier than going without anything.

Enjoy!


Revisited Recipe of the Day:

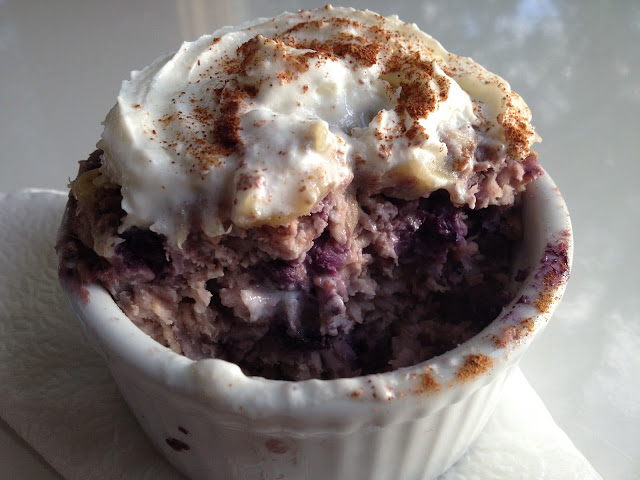
Baked Oatmeal Blueberry Muffin


Pin It!

Tuesday, September 25, 2012

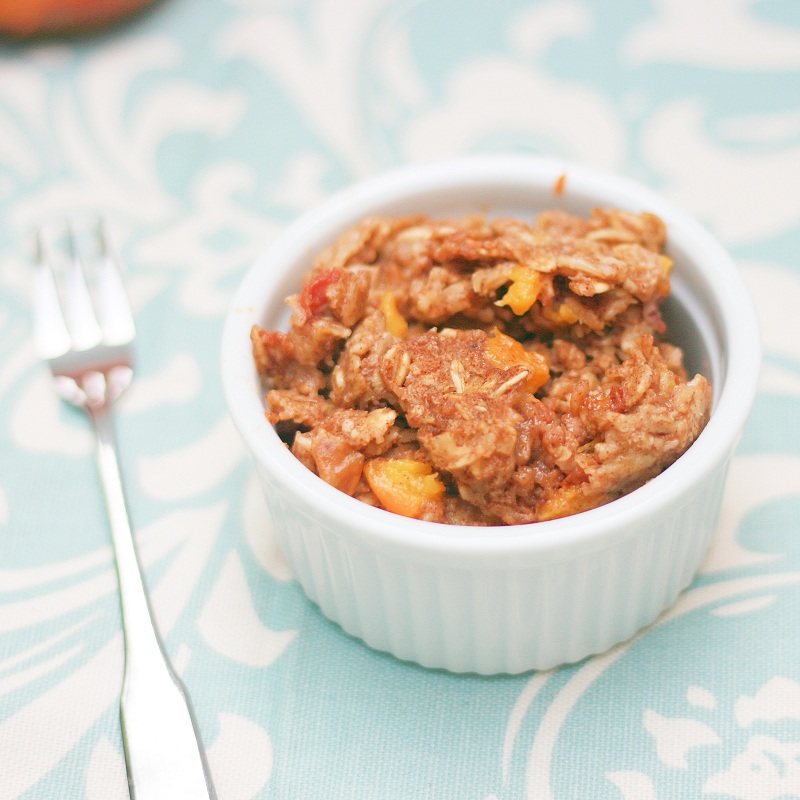
Peach Cobbler Baked Oatmeal (My 100th post!)

You are now reading Mix it Up's 100th post!


Even now, as I write this, I'm having a hard time believing it.  To be honest, in my mind, this still seems like a baby blog that's slowly working it's way up to the "big guys", even though I know I've made some huge progress from the start of Mix it Up to now.

For example, now I've started to create some of my very own recipes, instead of just slightly tweaking others.  I'm glad I have, too, as it's definitely a great feeling when you think up something, try it out, and then get to devour it later on.


In fact, today's recipe is actually one that I though up all by myself.  I wanted it, I tried it out, and I absolutely loved it.

What was it, you ask?  Peach Cobbler... breakfast style.


I took a classic Peach Cobbler... and then made it healthy, easy, delicious enough for breakfast.

Surprisingly, it wasn't all that hard.

All you've got to do is think a little bit outside of the box.  Sub oatmeal for the buttery topping, throw in some extra spices, and, then, after much thought, omit the sugar (don't worry, you can't notice).  Now that I think about it, you could even add some greek yogurt (or frozen greek yogurt) on top, to complete the dessert-for-breakfast theme.

So, you see, this breakfast dish really isn't all that different from it's dessert twin.  You just have to go in with an open mind, and then prepare for it to be blown by the amazing-ness of the following recipe.


Peach Cobbler Baked Oatmeal
(serves 1)
  • 1/3 cup rolled oats
  • 1/4 tsp vanilla extract
  • 1/2 tsp cinnamon
  • 1/8 tsp allspice
  • pinch cloves
  • 2 tbsp + 2 tsp applesauce
  • 2 tbsp water, milk, or other liquid
  • pinch salt
  • 1/3 cup chopped peach
Combine all ingredients, but peaches, into a small bowl, and mix well to combine.  Gently stir in peaches.  Pour mixture into a greased microwave safe dish (a ramekin, for example).  Microwave for around 3 minutes, or until it is firm and no longer watery.  Let cool a bit before either eating strait from the dish, or breaking into smaller pieces and serving in another plate/bowl.  (You could try to keep it whole, like a cake, but when I attempted this it just fell apart, so do it at your own risk)


Can you believe that only that short list of ingredients and, at the most, 5 minutes of your time, can lead to such a heavenly breakfast.  I'll admit, I was a bit doubtful at first.  That is, until a took a bite.  Major yummy-ness I tell you.  Just give it a go and you'll see.

Revisited Recipe of the Day:

Healthy Pumpkin Squares


(the first recipe I ever posted!  These are the start of everything you see on the blog today)
Pin It!

Saturday, September 15, 2012

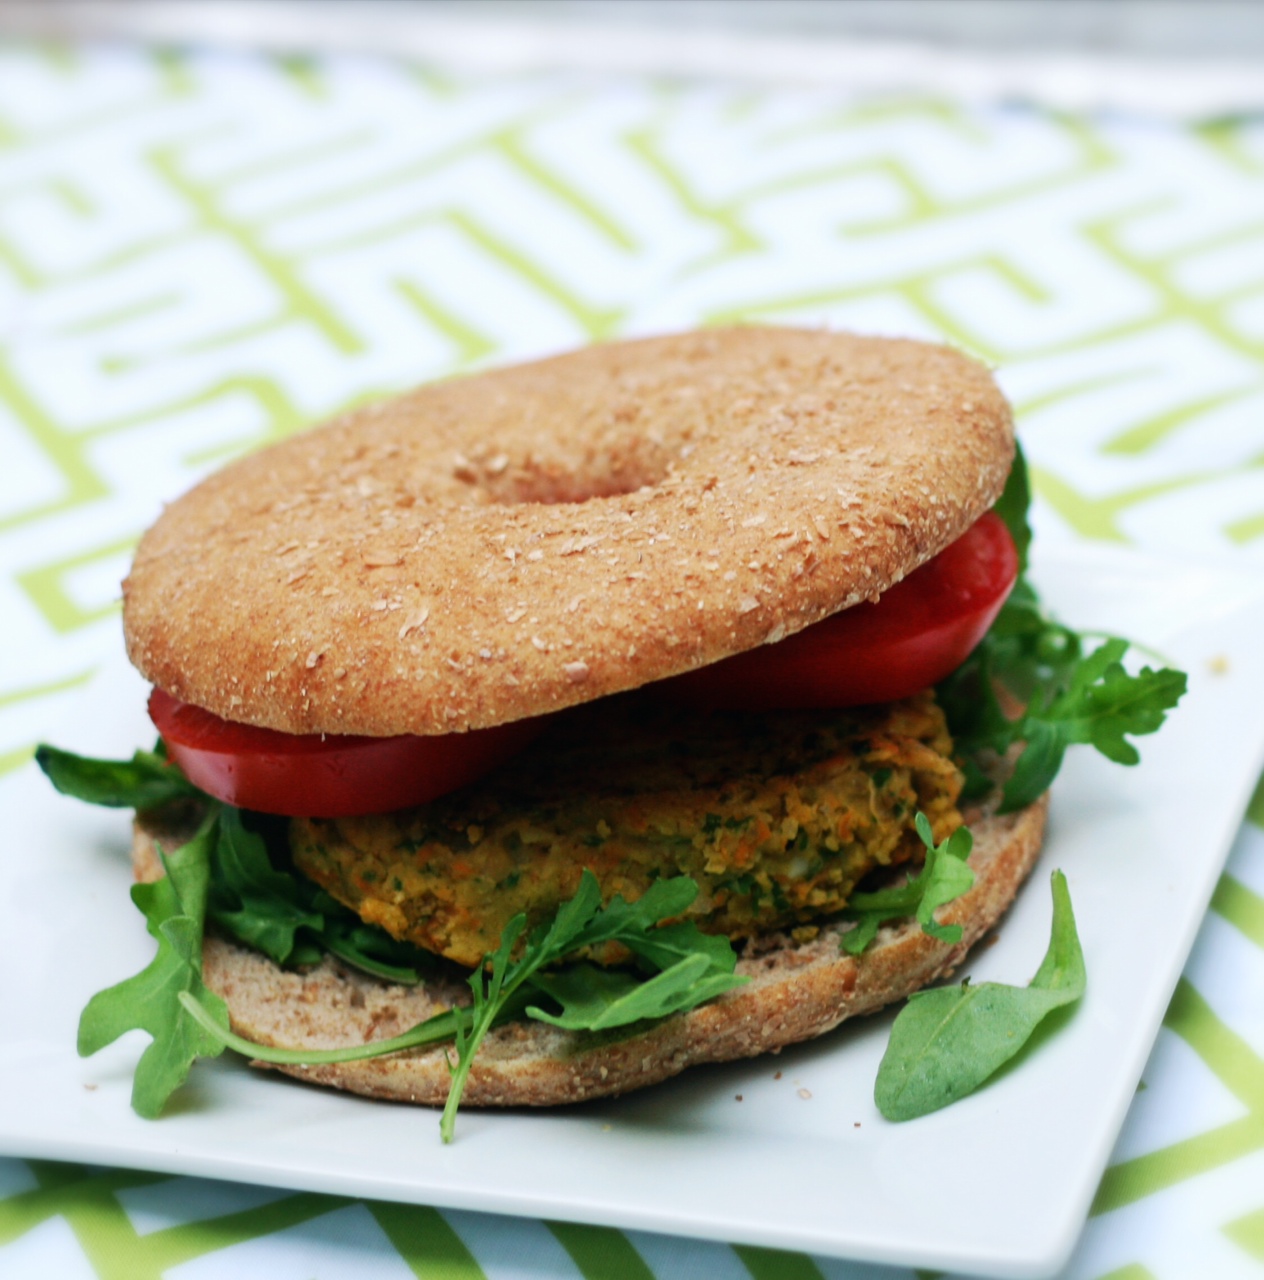
Chickpea Burger

You know what's extremely weird? Sometimes I actually prefer a meatless burger to an all-beef one.
 

I'm not a vegetarian. I eat meat and seafood often. But, still, most of the time, my burger cravings are for something filled with beans and vegetables, not beef.

Strange, right?

I think it has to do with that heavy feeling you sometimes get after eating a classic hamburger. You know, when you feel like someone secretly tied invisible weights to your shoes?

I hate that feeling. Like, a lot.

 
It's just not a good way to go about your day, in my opinion.  Simple as that. No matter how good my most recent meal might have been, if I have to go around with that awful stomach ache for the next few hours, it probably wasn't worth it.

Also, if I'm already completely filled up after the main course of a meal, it probably means that dessert, is not such a good idea.

And me without dessert = very very bad.


So, getting back to the point, when I had a burger craving a couple nights ago, these Chickpea Burgers definitely hit the spot.

They were super fast to throw together (especially if you prepare the patties ahead of time), full of flavor, and perhaps most importantly, left me without that icky feeling that I despise so much.

Needless to say, dessert did make an appearance that night.

 
Vegan Chickpea Burgers - original recipe can be found here

  • 1/4 cup rolled oats
  • 1/8 cup sunflower seeds
  • 1 can chickpeas (or garbanzo beans)
  • 1 medium carrot, peeled
  • 1/2 cup parsley leaves
  • 1 tablespoon tahini
  • 1 tablespoon olive oil
  • 2 cloves garlic, minced
  • 1/4 teaspoon kosher salt
  • 1/8 teaspoon chili powder
  • 1/8 teaspoon cumin

  • Drain and rinse chickpeas, then set aside.  In a food processor, combine oats and sunflower seeds, and blend until coarsly ground into crumbs.  Chop carrot into small pieces, and add to food processor along with remaining ingredients.  Process until well combined, stopping to scrape down sides if necessary.  Form mixture into 4 equal sized patties.  In a skillet, pan fry patties for 3-5 minutes on each side, or until they're lightly browned.  Serve with lettuce, tomato, or anything else you can think of!
     

     A bit more about the burgers since I spent most of this post rambling on about annoying belly aches:
     
    - They're light. Don't get me wrong, the taste is totally delicious, but some of you out there might want to help yourself to two, especially if you're not planning to serve with a side dish (or dessert) of some sort
     
    - If you like falafel, these burgers are right up your alley. The taste is similar and the texture is too, though these burgers are healthier because they aren't deep fried.
     
    - If you have some extra time before your planning on serving these burgers, I highly reccommend you freeze the already made patties before pan frying them. This helps the burger keep its shape, and makes the meal come together even more quickly when it's time for dinner to be served.
     

    Now, without further ado, I tell you "Enjoy!" and please think if these burgers next time you want a light and delicious meal that won't leave you weighed down afterwards.
     
    Revisited Recipe of the Day:

    Carrot Chickpea Hummus


    Pin It!

    Tuesday, September 11, 2012

    Peanut Butter Rice Crispy Treats

    Simply delicious.


    When I want a dessert, and I want it now, that phrase is something I've come to love.

    To me, it means that a recipes is easy, fast, and still just as gratifying as one that could have taken hours to prepare.


    Now, you may very well be thinking that I'm out of my mind right now, because that last sentence sounds pretty darn close to impossible.  But, trust me, it's not.

    For if it was, these Peanut Butter Rice Crispy Treats would not exist.


    With only 4 ingredients, all of which are probably already somewhere in your kitchen, and no baking time required these bars are pretty much as simple as it gets.  And, oh yeah, they taste amazing too.

    See?  Simply Delicious isn't just a fantasy of mine, it can and has been achieved.


    Peanut Butter Rice Crispy Treats - original recipe can be found here
    • 3 cups rice crispy cereal of choice
    • 1/2 cup creamy peanut butter
    • 1/2 cup honey (maple syrup or agave will also work for strict vegans)
    • 1 tsp vanilla extract
    In a large bowl, measure out your cereal.  Set aside.  Next, in a small saucepan, melt together the peanut butter, honey, and vanilla over medium heat.  Once melted, pour over your cereal and mix until everything is coated and there are no dry spots.  Line a 9x9 baking pan with parchment paper.  Pour your peanut butter and rice crispy mixture into the pan and press down firmly until flat.  Place pan in freezer for half hour before cutting and serving your Rice Crispy Treats.  Store any extra bars in freezer.


    Next time you need a fast and easy crowd-pleasing dessert, this should definitely be the page you visit.

    The recipe can easily be doubled, or even tripled, and, that's be honest, everyone loves peanut butter.


    Enjoy!

    Side Note: The Giveaway is now over.  To find out who won, head over to this page.

    Revisited Recipe of the Day: 

    Single Serving Double Peanut Butter Cookies


    Pin It!

    Saturday, September 8, 2012

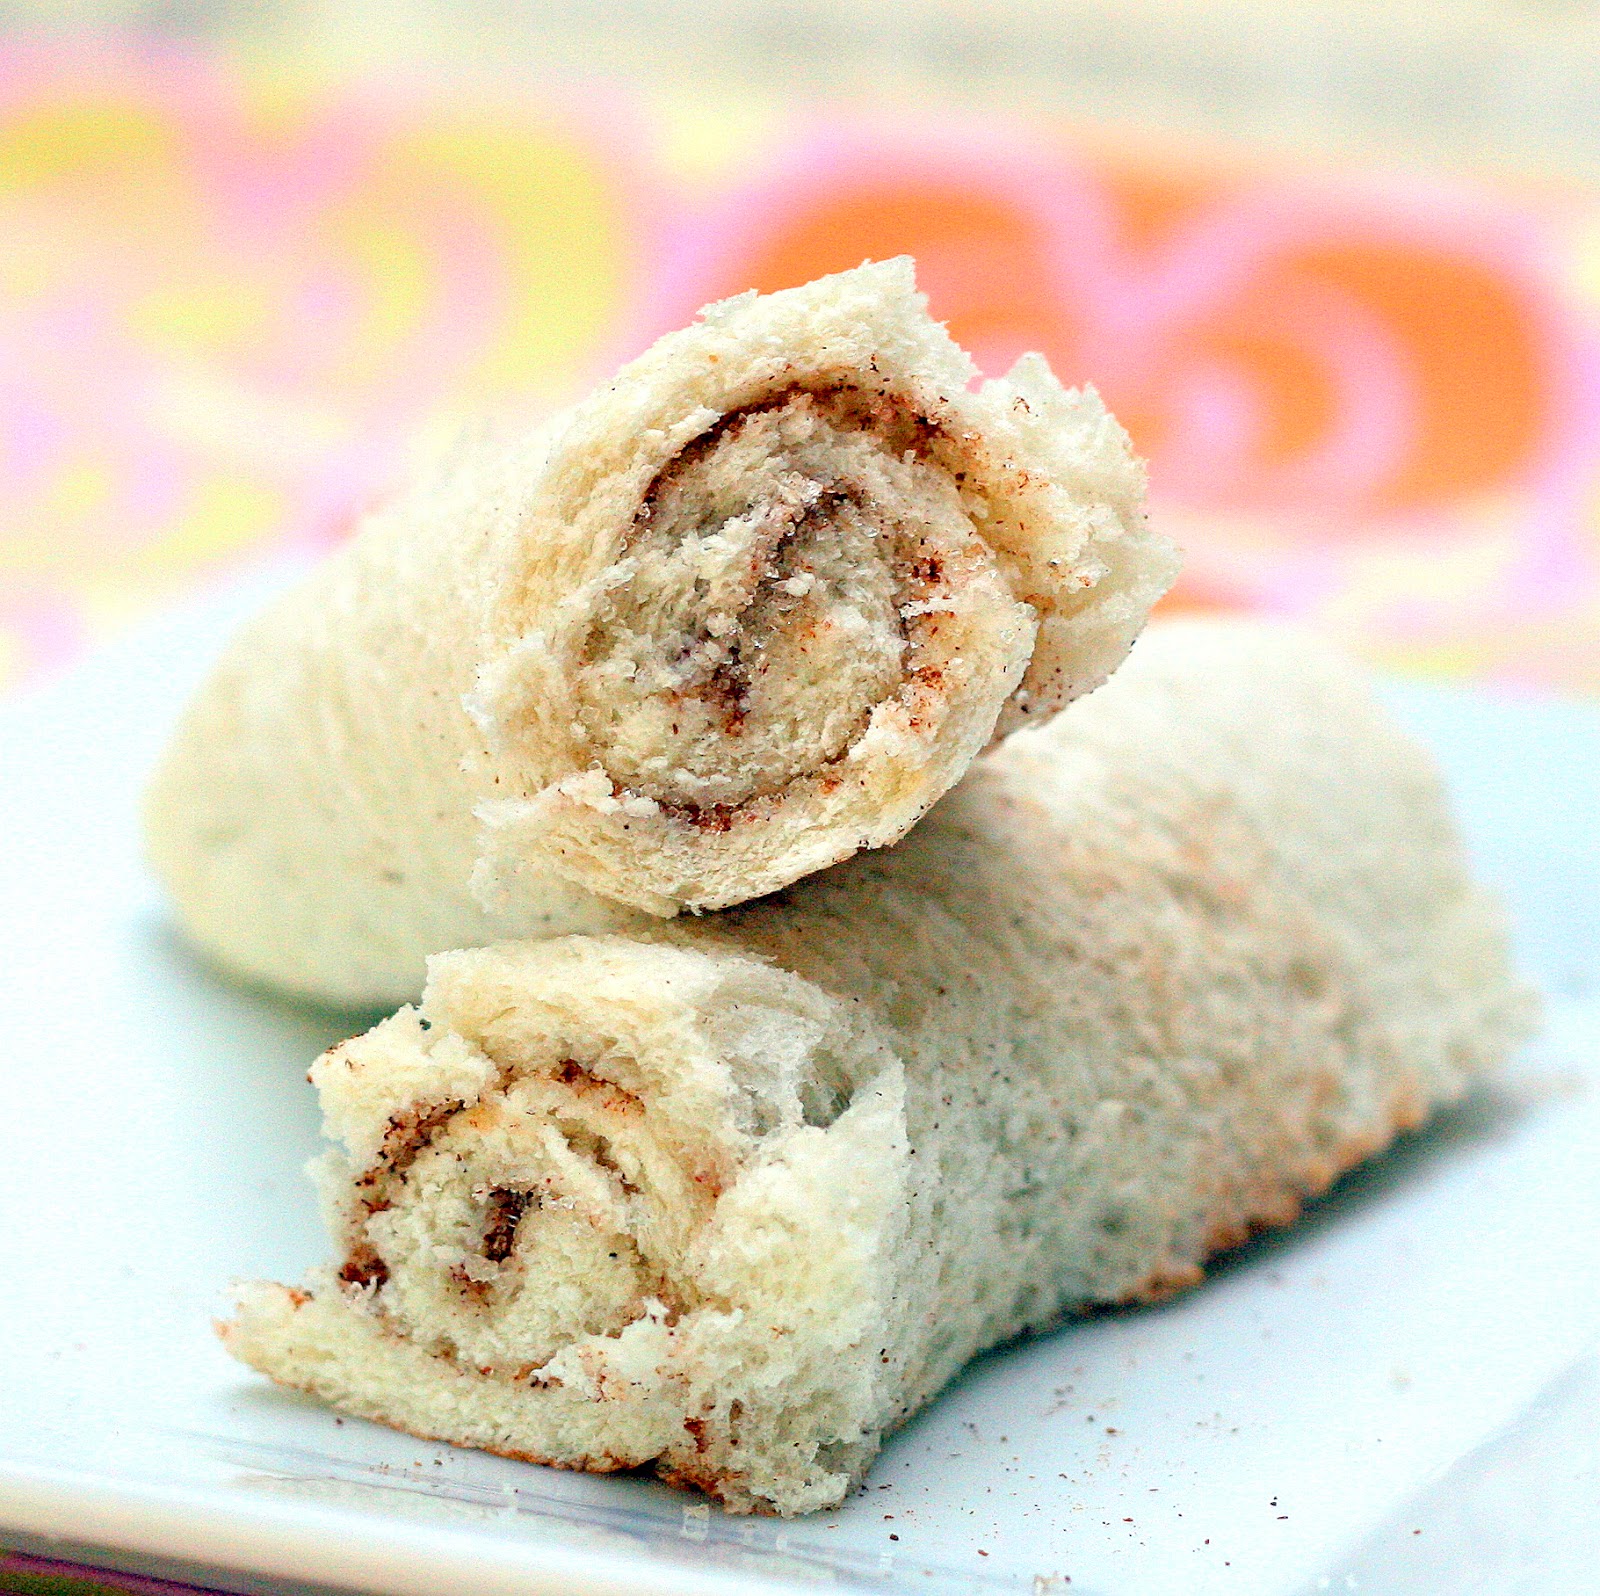
    Kid-Friendly No Bake Cinnamon Roll-ups

    It's that time of the year again.

    Back to school.


    Back to school often means busy mornings, lots of school supplies, and hungry kids that need a good afternoon snack.

    I've got a great recipe today, that can help make busy mornings and afternoon snacks a lot less stressful.  It won't, however, make the absurd amounts of school supplies any more manageable.  Meaning, don't send your 6 year old to school we these instead of crayons.


    Although, with that being said, you most definitely can send him/her to school with these in their tummy, for that will certainly end much better.

    And when they get home?  Just throw together a couple more for a totally satisfying afternoon snack that any kid will enjoy.


    In case you happened to skip over the title of this post, the amazing little treats I'm going on and on about are No Bake Cinnamon Roll-Ups.

    They're fast, easy, and picky-eater approved.  I'm sure that's music to most moms' ears right about now.


    Kid Friendly No-Bake Cinnamon Roll-Ups - inspired by this recipe
    (makes 2 rolls, like in the pictures)
    • 2 slices white bread
    • 2 tbsp butter (or something similar, like Earth Balance), softened
    • 1 tsp cinnamon (or as much as looks appropriate) 
    • 1 tbsp sugar (again, use whatever seems correct
    Cut the crust off your bread, so that it forms a neat rectangle.  Then, with a rolling pin or large cup, roll out the bread until it's as thin as you can get it.  Depending on the type of bread you use, this can be very easy or surprisingly difficult.  Once your bread is flattened, spread a generous amount of butter on each slice.  Then, sprinkle the cinnamon and sugar over, making sure to coat evenly (please note that the measurements listed above are just estimations as I usually go by eye on this step).  Roll up your bread tightly.  You may have to use a bit more butter to make it stay rolled up, and not just fall apart when you let go.  For presentation, if desired, you can cut off the edges of the rolls so that the spiral is more visible.


    I promise that these will be a hit with almost any kid you offer them too.  And, when they're as simple as sprinkle, roll, and serve, it won't even be a problem if someone asks for seconds.

    In fact,  these Cinnamon Roll-Ups are so easy, that, with a bit of help, any child could even make them on their own.

    Hey, parents!  How's that for less stressful?

    Revisited Recipe of the Day:

    Cinnamon Sugar Muffins


    Pin It!

    Monday, September 3, 2012

    Peach Greek Frozen Yogurt

    So simple, so nutritious, so good.


    That is how you describe this frozen yogurt using only 4 different words.

    If I wanted to get more descriptive, I could say that it’s creamy, rich, fruity, tangy, healthy, easy, refreshing, delicious, and perfect for your labor day plans.

    But that takes more time.  Time that I could be using to eat this frozen yogurt.


    And while I'm on the subject of time, I should probably inform you that to make this yogurt, you need next to none.  I'd say about 4 minutes of hands-on is all that's really required.  All you need to do is blend together you're ingredients, pour the mixture into an ice cream maker, and, BAM, you're done.  Sounds easy right?

    And that's without the added knowledge that there are only three ingredients total.


    That's right, only three.  Honey, Greek yogurt, and peaches.

    Alright, so let's recap.  This Peach Greek Frozen Yogurt is extremely delicious, absurdly good for you, takes about 4 minutes of hands-on time, and only uses three ingredients.

    Now, tell me, why wouldn't you make it?


    Peach Greek Frozen Yogurt
    (makes a little over 1 cup, recipe easily doubled)

    • 1 cup plain non-fat Greek yogurt
    • 2 peaches, pitted (there's no need to remove the skin)
    • 1 tbsp honey (or to taste)
    Blend ingredients together in a blender until smooth.  Pour into ice cream maker.  Let mixture churn until it thickens into an ice cream like consistency.  Pour frozen yogurt into a small container and freeze for at least 1 hour or until ready to serve.  If you freeze your mixture overnight, you may have to thaw a bit before scooping.  If you don't have an ice cream maker, you could try just pouring your blended ingredients into a container and freezing.  However, I haven't tried this and am not sure how well it would work.
      

    Happy Labor Day everyone!

    Do you have anything fun planned?  Any way your going to celebrate what feels like the last weekend of summer?

    Maybe this frozen yogurt is part of your agenda (hint, hint)?


    Revisited Recipe of the Day:

    Protein Vanilla Milkshake


    Pin It!